The Burlap Wreath...... I have been seeing these all over the Internet. And everyone who blogs about them makes the building process look so easy. Well let me be the next..... It is INCREDIBLY easy!!! From beginner DIY'ers to full fledged Martha Stewart's, it is cheap, easy, fun, and takes very little time. But the best part about this simple wreath is you can make it fit any interior/exterior by just adding a little bit of you. From ribbon, to flowers, or holiday themed ornaments, just about anything works well on this simple but unique looking wreath.
I had a couple of these items, so my total cost was about $8. However if you were to have none of the above you are roughly looking at a total cost of $20.
Materials needed:
Burlap
Scissors
Measuring Tape
Wire (Aluminum Wire with the wire cutter attached)
Ribbon (optional, my choice of decoration)
Glue Gun (optional, for attaching decoration)
Step 1: Take the aluminum wire and bend/mold it into the desired diameter of the wreath. Twist the ends together. Not too tight.... they will be "un-twisted" once the burlap is ready to go on. (please excuse the image of the wire. It was not easy to capture) :)
Step 2: Unroll the burlap out on a large surface. Cut lengthwise: 4" stripes (they do not have to be perfect)
Step 3: Fold the 4" thick bands into accordion like form until you have completed the entire band
Step 4: "un-twist" the aluminum wire frame for the wreath that was set aside. Simply take one of the wire ends and string through the center of the burlap. Repeat this process
Step 5: Repeat until the entire wire is packed with your 4" burlap strands.
Step 6: Make sure the burlap is packed tight. Twist the ends back together at the top, and play with the burlap so that it covers all of the wire that may be exposed.
Step 7: I had no idea how heavy the burlap was until all said and done. So to ensure that the burlap does not make its way down and sag I took little pieces of the wire and twisted them every 4-6" around the entire aluminum frame for support. It worked perfect!!!
Step 8: With a little ribbon and a glue gun, VUALA!
I tied the ribbon to the back side of the wire on both ends to balance the weight of the wreath
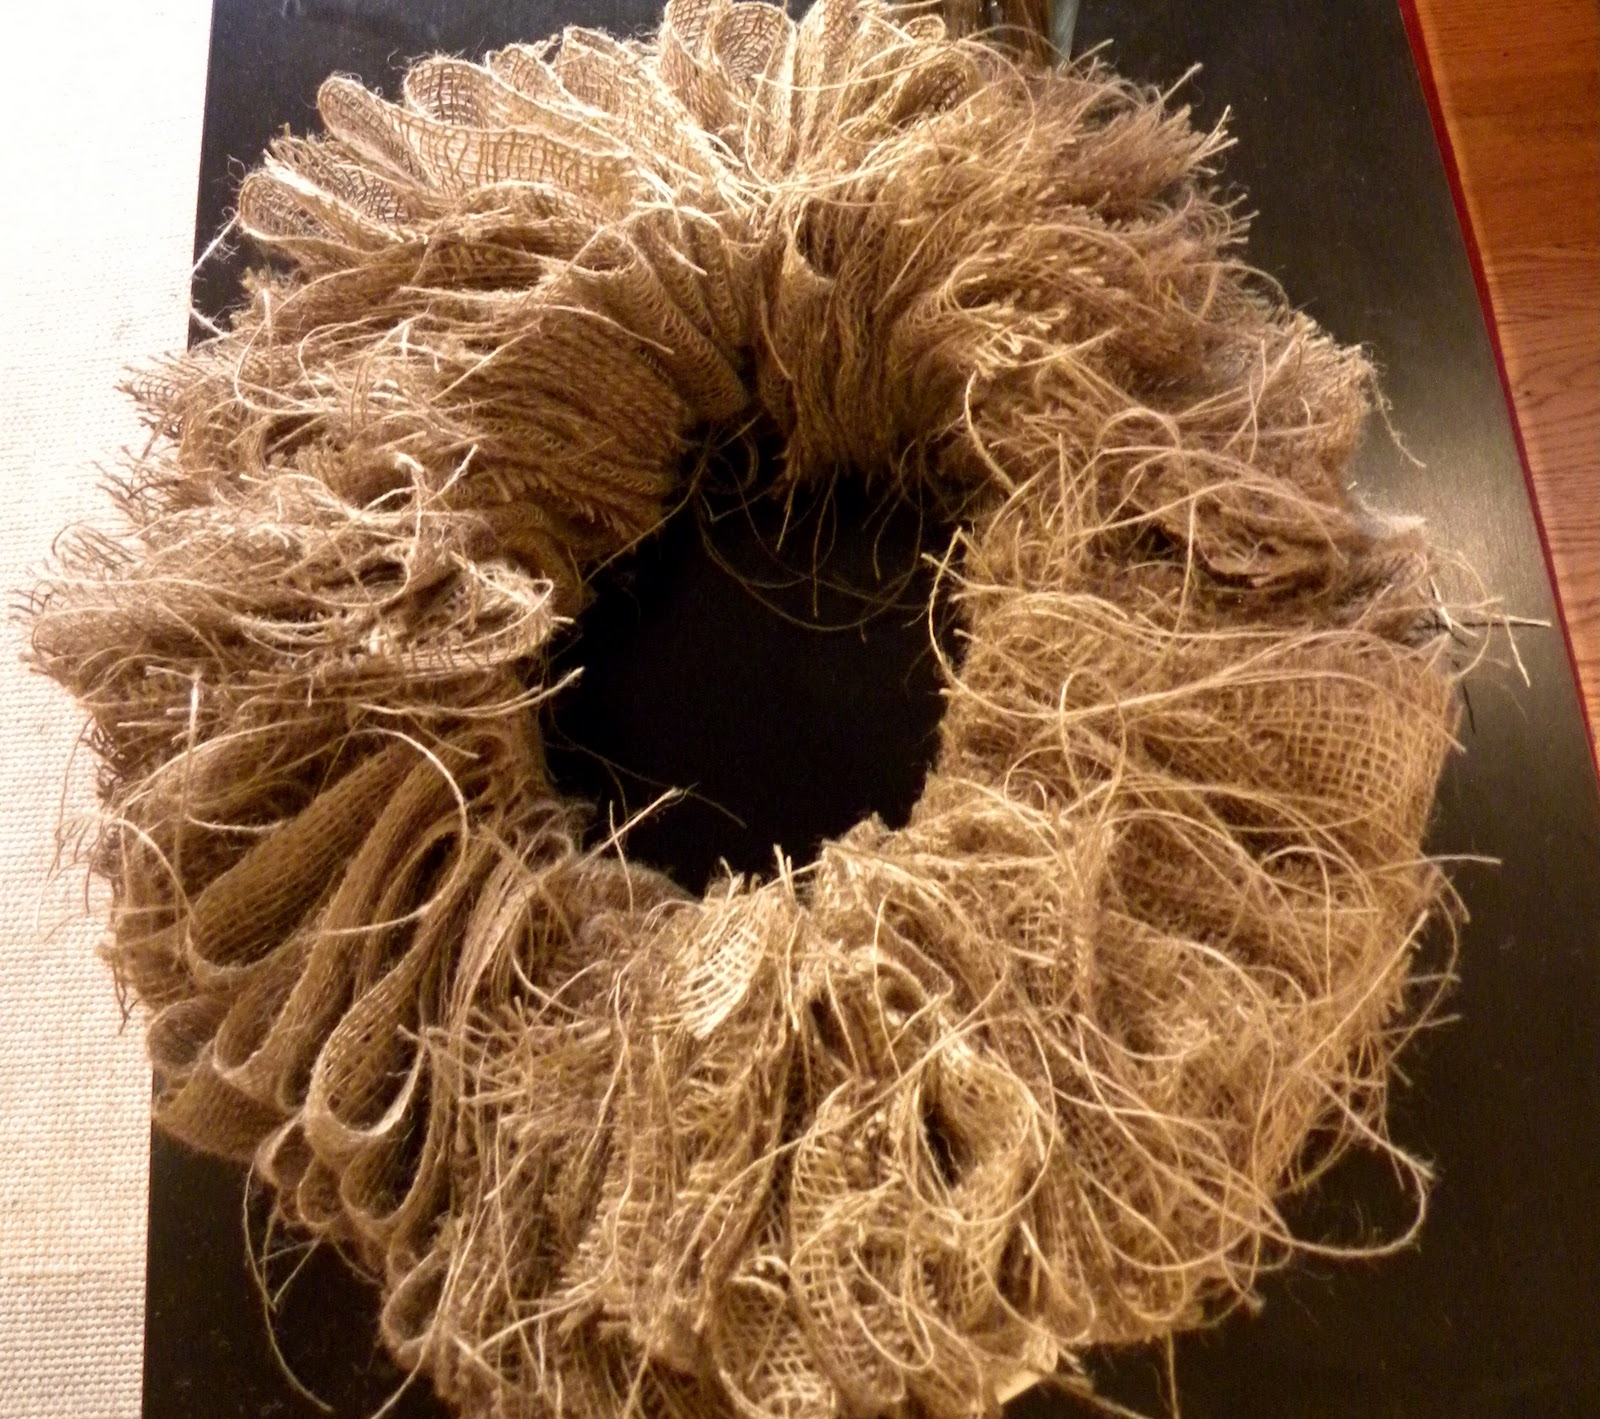
One of the best parts to creating this project is that nothing has to be perfect in the building process. However in the end it looks perfect


No comments:
Post a Comment